MARTIAL ARTS
DIY Wall Mount Makiwara: The Parrot Way

Makiwara’s are one of those love/hate kind of devices in karate training. If you believe that a makiwara is for toughening up knuckles so you have callouses like a gorilla, then you fall into my ‘hate’ category…otherwise known as “morons”. I’ve seen dudes beat the bejeebers out of boards until they bleed. The worst of these sins is typing rope around a tree or other immovable object and striking it. I cringe when I think of the debilitating arthritis that awaits these idiots in their twilight years.
Others use a genuine makiwara as a means of getting feedback on their strikes and for this I will give it at least a B+ grade. At the end of the day I’m guessing the real reason you want to build one is because you’ve seen old pictures of karate masters pounding on rice-ropes tied to boards sticking out of the ground. Since we romanticize their often misguided ways, we too must build one in the same tradition much like a Jedi building his own light-saber. And before you berate me for trashing the karate patriarchs, just know that I have one too.
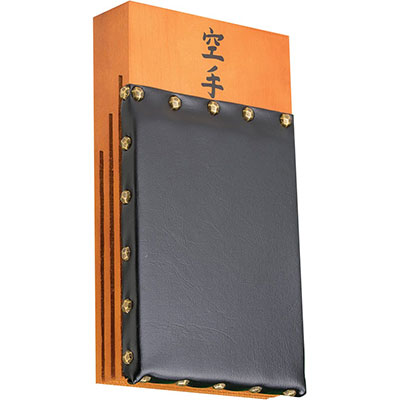
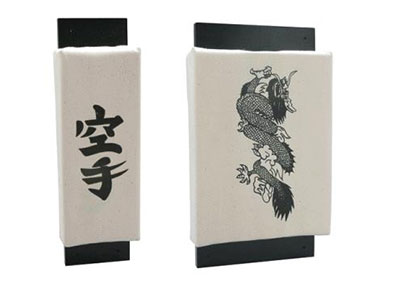
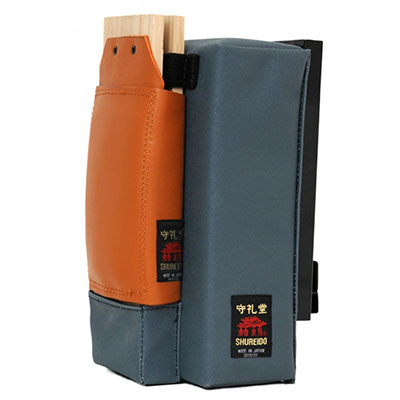
This plan is for building a wall-mount makiwara in the event you cannot build a traditional device that is bolted to the floor. Maybe you don’t want to drill into the hardwood, or maybe your wife has threatened to kill you in your sleep should you try. Whatever your reason, this option easily accomplishes the goal of a real-deal makiwara. I do want to plead with you for one thing…avoid the wall-mount devices that claim to be “makiwara” and are most certainly not. The very best of these get an F grade.
Supplies
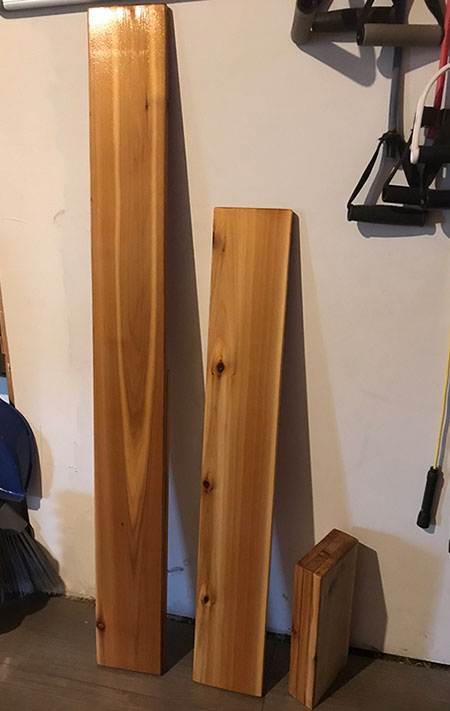
- 4x 1×6 5′ cedar fence planks. I’ve seen people use pine. Don’t. It’s not going to hold up and has a tendency to break too easily. Other options are Douglas fir, oak, mahogany. Avoid pine, spruce and especially anything pressure treated. 5′ cedar planks run around $3 a piece. Be choosy and avoid heavily knotted or warped specimens.
- 4″ deck screws ( a handful should do )
- 4x 2″ bolt screws
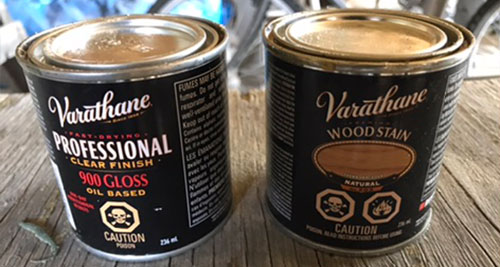
- stain and gloss varnish ( optional, but you’ve come this far )
- 8×10 piece of craft leather.
- cheap cork pad
Tools required
- Chop saw
- drill
- orbital sander
- wood glue
- vice clamps
- socket wrench with appropriate bit to run bolt screws. ( usually 13mm )
- paint brush
DISCLAIMER
Unless you’ve had karate training in the proper use of a makiwara ( no…your yellow belt does not count ), I forbid you to make this. That’s right. I’m putting a bony finger in your face and telling you to get your sorry keaster to a dojo and at least learn how to do a proper reverse punch. Any injuries you sustain will be your own fault. Any attempts to blame me in the comments section will result in merciless ridicule. Oh, you’re going to make it anyway? Very well, you have been warned.
Step One – Cut and paste
You will need to cut the following from your planks: 1x 4′, 1x 3′, 1x 2′ and 3x 1′. Once done take a little time to sand them to a smooth finish, although you will only need to do the sides of the 1′ pieces.
Take the 3x 1′ pieces and glue them together. Use a couple of vice grips to make the seal tight and let dry overnight. Take the 4′ and the 2′ piece and likewise glue them together, lining up the bases. This is going to be the strike-board and the 2′ piece will give some resistance lest it be too flimsy. If you want tougher resistance then make this 2.5 or 3 feet.
Step Two – Wood finish
This is optional, but I highly recommend making this look snappy. I found with cedar that a natural colored stain looked the best, so get a couple coats on there to make it stand out. Finish with a nice gloss coat. If this thing is going to be on your gym wall, go the extra mile and make it a work of art.
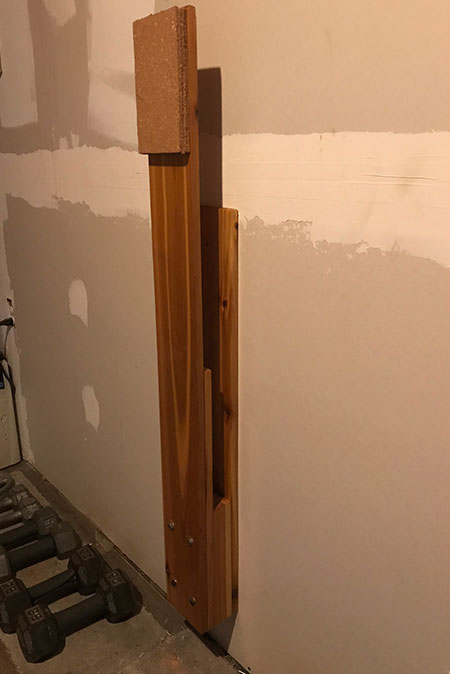
Step Three – Assembly
Take the 3′ board and secure it to the wall. Place 3 screws near the bottom and be sure to hit the stud. One screw at the top is enough as most pull-force will be at the bottom. Pre-drill holes to avoid splits.
Place the 3 pre-glued 1′ pieces at the bottom and secure with a 4″ screw in each corner. Remember where they are when you bolt on the strike board so they don’t hit each other.
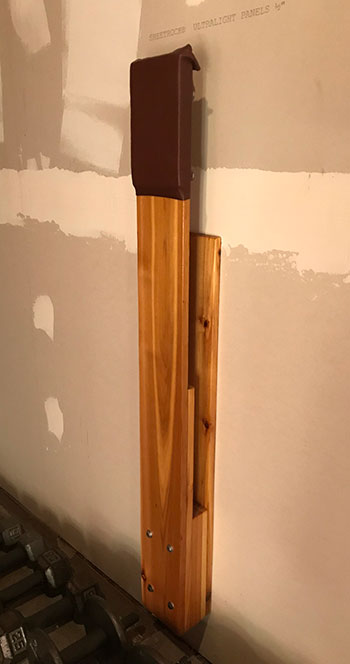
Use the 4 bolt screws to attach the strike board assembly at the base, again remembering to pre-drill holes. Oh, and ignore my unfinished drywall in the picture. I’m doing it this weekend. No, really. I mean it this time.
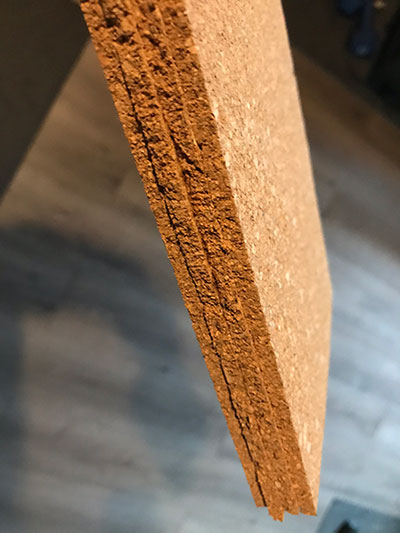
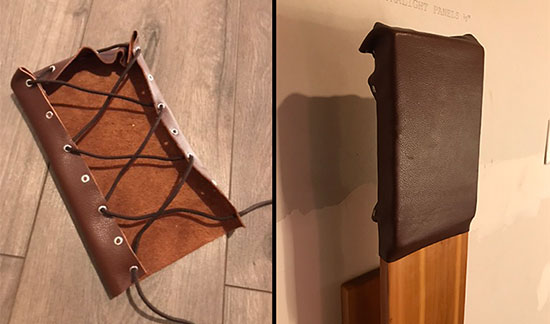
Step Four – Strike Pad
This is open to how much of a traditionalist you are. Rice rope would be the old school option. Hemp or straw rope in my opinion is just too rough. I’ve also seen high-density closed-cell foam and even old mouse-pads used so the only limits are your imagination. My choice? A $3 cork pad from the Dollar Store. It rode the fine line I was looking for without breaking the bank. Secure the pad of choice with double sided tape.
Cover the pad with leather to keep it in place and to improve the aesthetics. If you can do a little leather-work, lace up the back so that replacement of the pad is easier. This might require some eyelets and shoelaces, depending how fancy you want to get. If need be you can staple-gun the thing down, but that will make changing out the pad that much more difficult. Heck, if you want to go ultra budget, cover the pad with duct tape. Your makiwara, your call.
Step Five – Get busy
Congratulations. You are now a member of an elite fraternity of people who take their karate far too seriously. Now get to work making that gyaku-zuki look like a million bucks.