
TECH ZONE
Return of the Hackintosh
Was it that long ago in 2008 that I built my first Macintosh OS PC from generic parts? Since then it ran great but unfortunately it gave up the ghost this week ( board failure ), leading me to scramble for a replacement. Cash was a little tight and I didn’t quite have what I needed to get a new Mac Mini. Should I just move to Windows 8 instead?
After spending time with Redmond’s newest creation I have come to the conclusion that I’d rather have my still beating heart ripped out of my chest and eaten by a Yeti as I look on in horror as I die before ever jumping ship. That led me to the only solution. Recreate the next Hackintosh. Better than it was before. Better. Faster. Stronger.

STEP ONE: PARTS and ASSEMBLY
I would be remiss if I didn’t mention the one stop place to go for all your Hackintosh needs, TonyMacx86. Go there. Learn. I opted to go for a modified version of his CustoMac Deluxe. The benefit of this is knowing that the hardware you buy is going to work. Should you go to the store and simply get the deal of the day, you will almost certainly hate yourself afterwards.
Logicboard: Personally, I trust no brand but Gigabyte. So I opted for the Z77N-Wifi model. It’s well known for great compatibility. You can also save a few dollars and get the H77N-Wifi, but you loose the option to overclock. Aside from that they are the same.
CPU: Be careful what you pick because not all Intel iChips are created equal. I recommend a CPU with HD4000 graphics, not HD2500 or 3000. Video problems can be a real pain in the ass and I wanted the safe route. In fact, the new Mac Mini’s use HD4000 so support is native. Therefore I chose the 3570K Intel i5.
Memory: Corsair Vengeance 4GB ( but if you’ve got the cash, go for 8 )
Power Supply: Pulled the existing Corsair 500CX from old unit.
DVD Drive: Pulled existing Pioneer DVD burner from old unit.
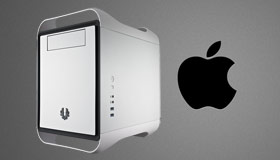
Case: You could go for a generic case…

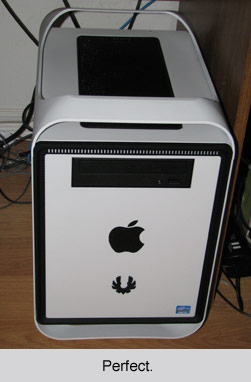
…or you can give that filthy Philistine head of yours a shake and belly up to the bar for a sexy case to go. That’s what the cool kids are saying these days right? Nonetheless, in terms of classy ITX cases there really is only one consideration here: The BitFenix Prodigy.
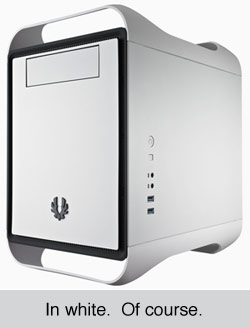
Putting your parts in a case this well made is childs play. The drive bays are on sliders, it has 2 ultra quiet case fans and most importantly, room to grow. The motherboard mounts horizontally and also allows room for crazy cooling options. I just went with the included Intel fan because at this point in time I’m not going to overclock.
STEP TWO: SOFTWARE
 This is a multi stage process. First you need the installer for OSX Mountain Lion. To make this easy, find yourself another Mac to work on then go to the App store and BUY Mountain Lion for a paltry $20. Then download a sweet utility called UNIBEAST to take that app ( should be in your Applications folder ) and make a bootable USB Key. Give this a little time to finish. This key will now be your installer on your new system.
Now boot up and use the key as the source. In no time you will see the installer and proceed as if you were working on the real deal.
Done? Sweet. But don’t bother rebooting. It won’t work 100% quite yet.
Remove your hard drive and plug it into your real Mac once more. Launch a utility called MULTIBEAST. Here is where you need to install the latest Chimera Bootloader as well as your specific device drivers.
STEP THREE: FLIP THE SWITCH
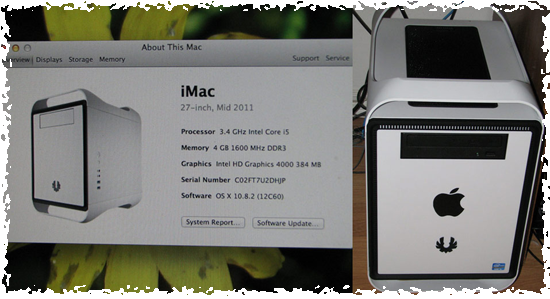
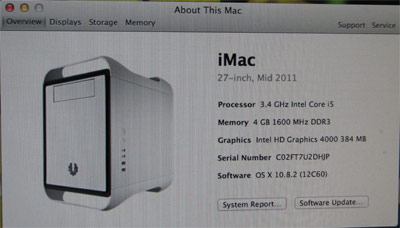
Take your drive and pop it into the new case. Hit the power and BAM…you my friend are done like dinner and playing with the big dogs. Enjoy your fully functional MAC OSX box. For added effect I modified the picture in the About this Mac to reflect the boss new case.
STEP FOUR: ASTHETICS
Finishing touches are what set the professionals apart from the damn dirty apes. So don’t sign off on your project until you add some flair.
In terms of style, I cut out a black Apple logo from a sticker sheet to place on the front which contrasted perfectly with the white. It almost looks like it could have rolled off the Cupertino drawing board. And most importantly, it will remind everyone that this machine is not polluted by Redmond filth.
STEP FIVE: FIRST WORLD PROBLEMS
So you think you can get off Scott free without any hangups? You probably also believe in unicorns and safe tax-free havens too. Unfortunately, as with any Hackintosh there are tradeoffs.
First, although you have a super community of support that even a couple years ago didn’t exist this awesomely, there is always a chance…albeit a remote one…that an update will kill your box.
There are also some issues with some motherboards. For example, my built in wireless does not function but I can buy a wireless card should I need that functionality. HDMI video out is also a little flakey. The good news is that the community at TonyMacx86 in all likelihood has your solution.
But the benefits are great too. I have multiple drive bays, built in optical drive, and even the ability to overclock ( check your board ). Not to mention I saved several hundred dollars. I also prefer a DVI monitor port because the odds of me affording a Thunderbolt display at this stage in life are practically nonexistent.
So it’s really a personal choice. Buying a real Mac will save you from worrying about updates and compatibility. A HackMac will save you money and if done right will work just as well as long as you have some techno-chops.


SRMcEvoy
February 23, 2013 at
I have done a few in reverse. Taken MacBook pro’s and converted them to Windows 7 only machines. But last year I fought tooth and nail at work after switching roles to be able to drop my MacBook and go back to a dedicated windows machine.But cool conversion job DP.